# New Project Creation
Creating a Python plugin from scratch could be done manually or with the help of the project creation. The project tool helps you to start the development of a Python plugin project faster.
To create a new project, first find out where you want to place it and what to name it. Maybe you keep your python projects under your user folder or under C:\Projects. let's say C:\Projects and we want to name it MyPythonProject. In this case, do the following from your TAP installation folder:
tap python new-project --directory C:\Projects\MyPythonProject --project-name MyPythonProject
This should give you the following folder structure:
- MyPythonProject This is your Python module named MyPythonProject.
- MyPythonProject/TestInstrument.py This is an example of in instrument, it can be deleted.
- MyPythonProject/TestStepExample.py This is also an example of a test step, it can be deleted.
- MyPythonProject.Api This is a C# project, which is useful to manage the OpenTap packages you want to have .
- MyPythonProject.Api/ExampleApi.cs This file contains an example of how to create and use C# interfaces with your Python code. .
- MyPythonProject.Api/MyPythonProject.Api.csproj This file contains the C# project definition, but also which packages gets installed when you build the project
- bin (After build) This folder contains a full OpenTAP installation, with all the dependencies you defined in the csproj file above.
- MyPythonProject.sln The C# solution file. Just ignore this.
- package.xml This file contains definitions for your OpenTAP package. It can be used to create a .TapPackage file which can be distributed.
- Readme.md Contains some information on how to get started. It can be modified at your discretion.
- typings/ (After build) This directory contains type information about .NET types to improve developer experience in e.g VS Code.
Once you have the folder structure set up, you can build the project using
2. dotnet build.
This does not build your Python code, but it installs all the packages you need to a bin folder, which contains your debug build.
After completing this command you have a full OpenTAP installation just for hosting your plugin, but you'll probably also want to install other plugins. For example, you probably want a test plan editor installed to debug and run your code.
- edit: MyPythonProject.Api/MyPythonProject.Api.csproj
Find these lines:
        <!-- Uncomment one of these lines to get a test plan editor installed when you build. -->
        <!-- <OpenTapPackageReference Include="Editor"/> -->
        <!-- <OpenTapPackageReference Include="EditorX"/> -->
        <!-- <OpenTapPackageReference Include="TUI"/> -->
Uncomment one or more of the lines containing OpenTapPackageReference to install something capable of editing a test plan.
dotnet buildagain.
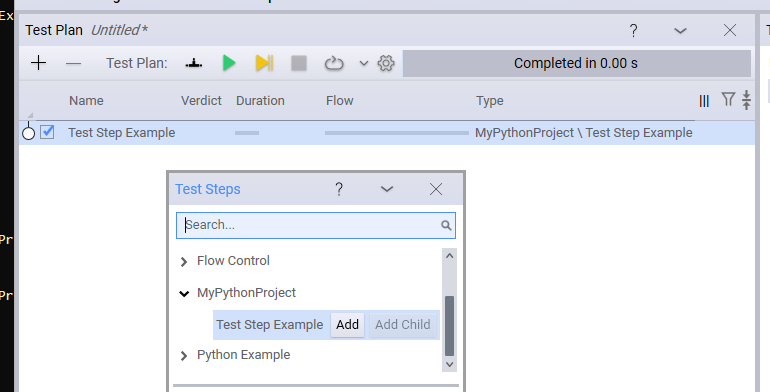
After this build, you should have the editor installed. If you uncommented "Editor", you can now run bin\Editor.exe. To get an test plan editor running:
